Facilitator guide
Case objectives, demonstration plans, debriefs, common mistakes and application checks across all 81 workplace cases and method lessons.
Download Facilitator guide PDF · 166 pages · 65.1 MB OPEXSTUDIO
Define buffer and units. Follow the visual, practise a decision, then check your thinking.
Fictional teaching examples and AI-generated illustrations. Proposed changes and goals are not achieved results. Use the written instructions and check local conditions before applying a method.
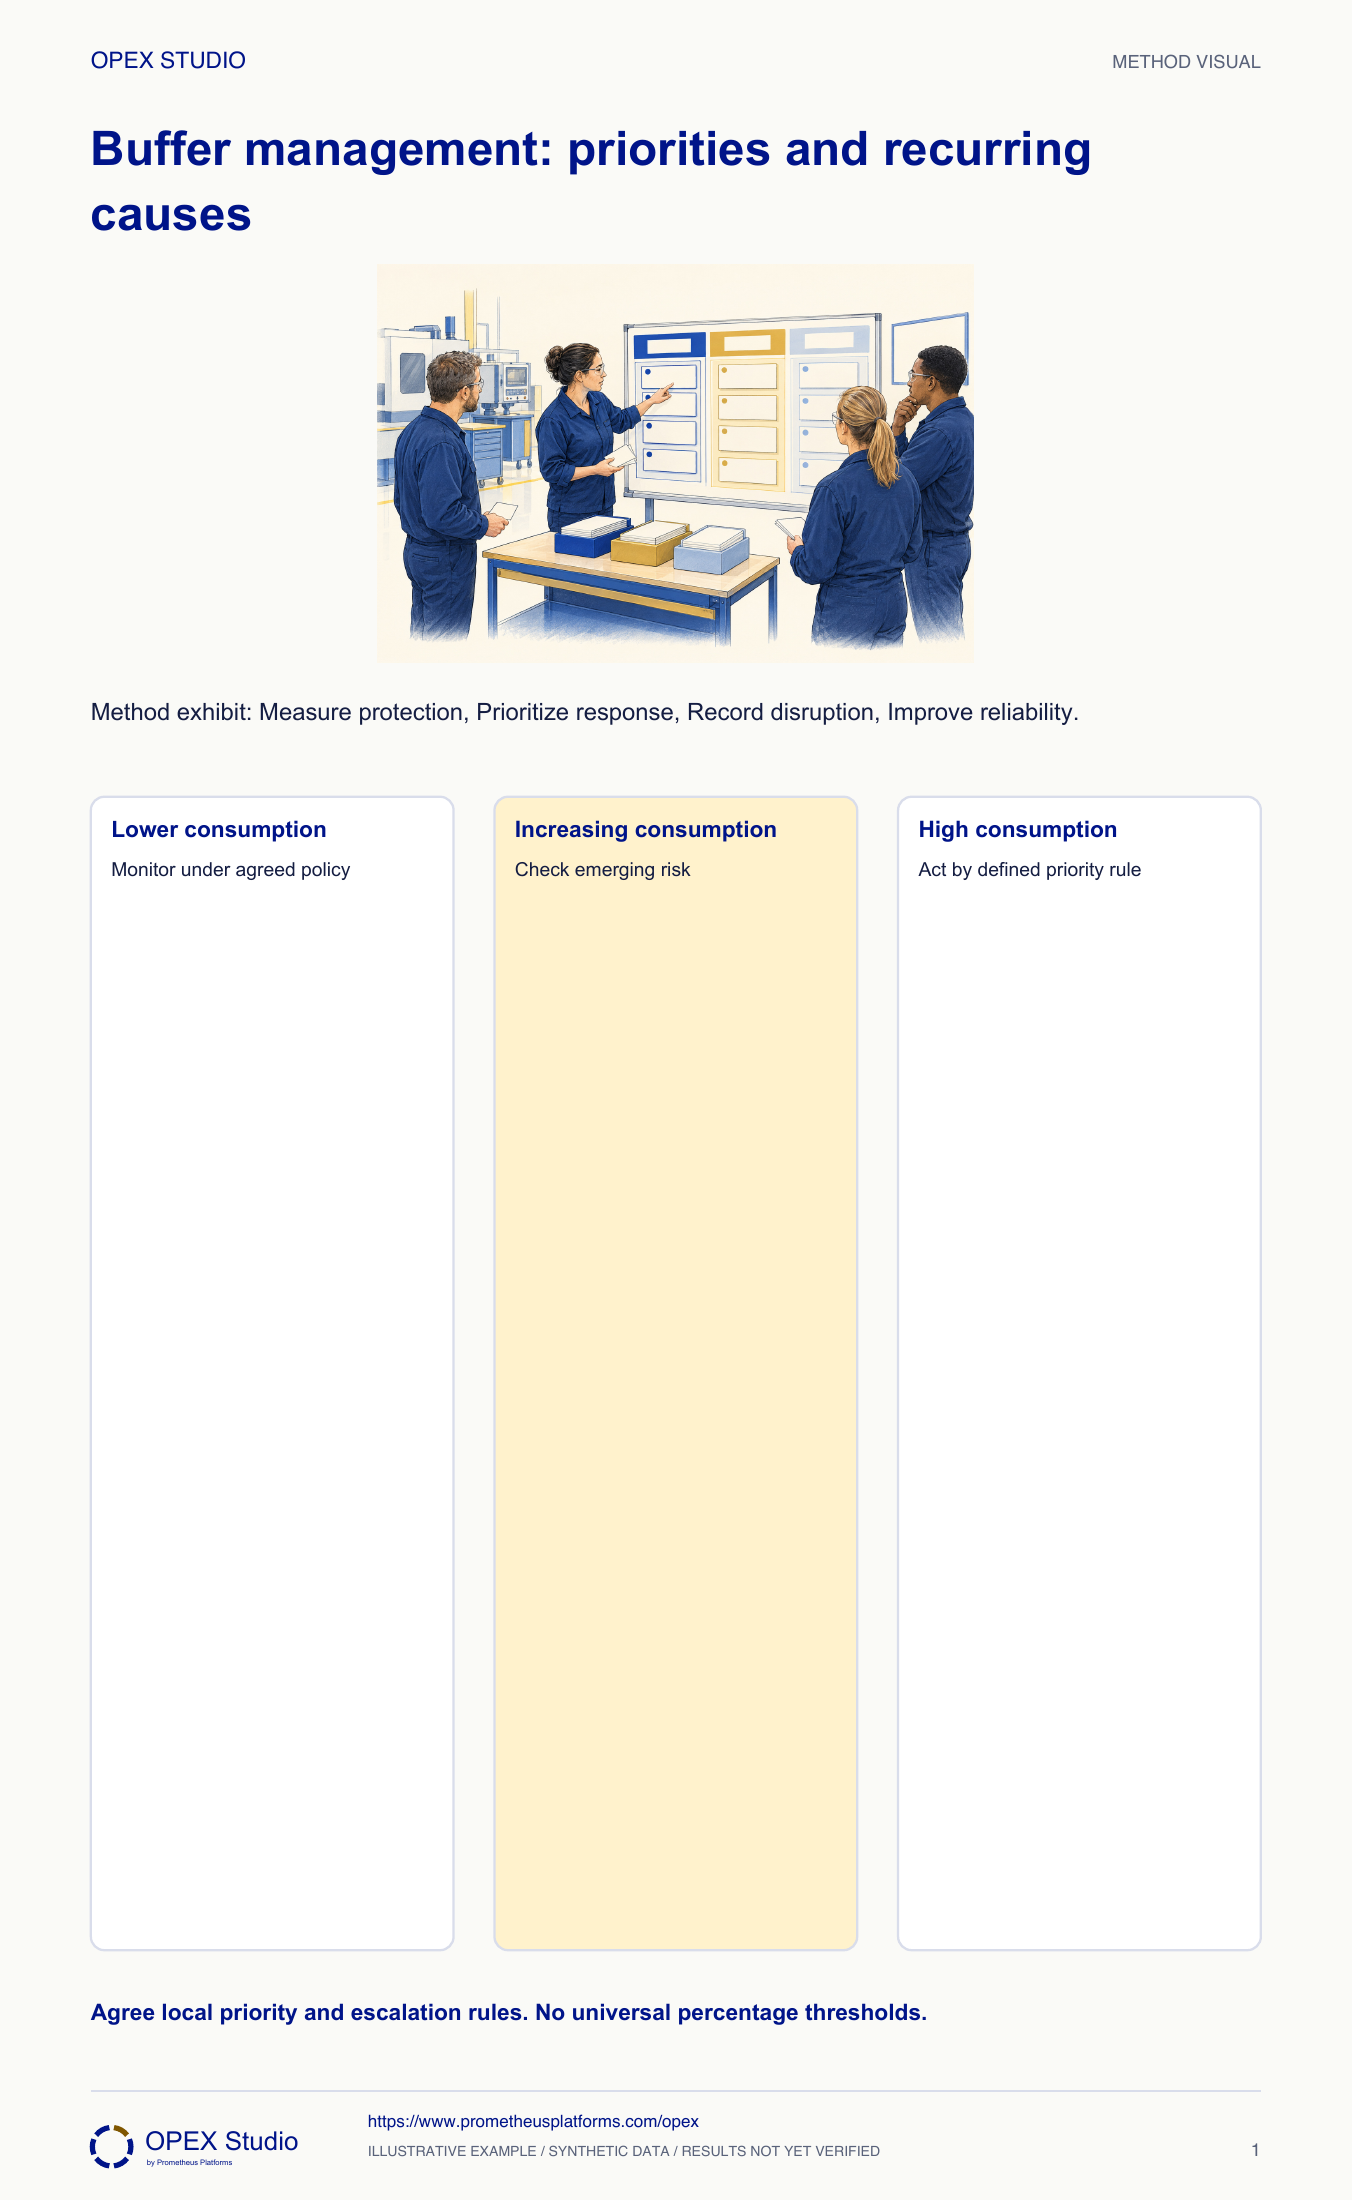
A buffer only helps management when its consumption is visible and tied to a response. Define the buffer type, units and operating policy before using colored zones. Track which work is consuming protection, apply the agreed priority rule and record what caused the disruption. Repeated risk should trigger investigation and review of the system, not a permanent emergency mode. The diagram's zones are illustrative rather than prescribed thresholds. Production, project and replenishment buffers have different meanings, so their measures must not be mixed. Use the history to improve reliability and decide whether the protection or release policy needs revision.
Color is not a universal percentage policy.
Expediting everything defeats prioritization.
Feeds focused improvement; Different buffer types need separate definitions.
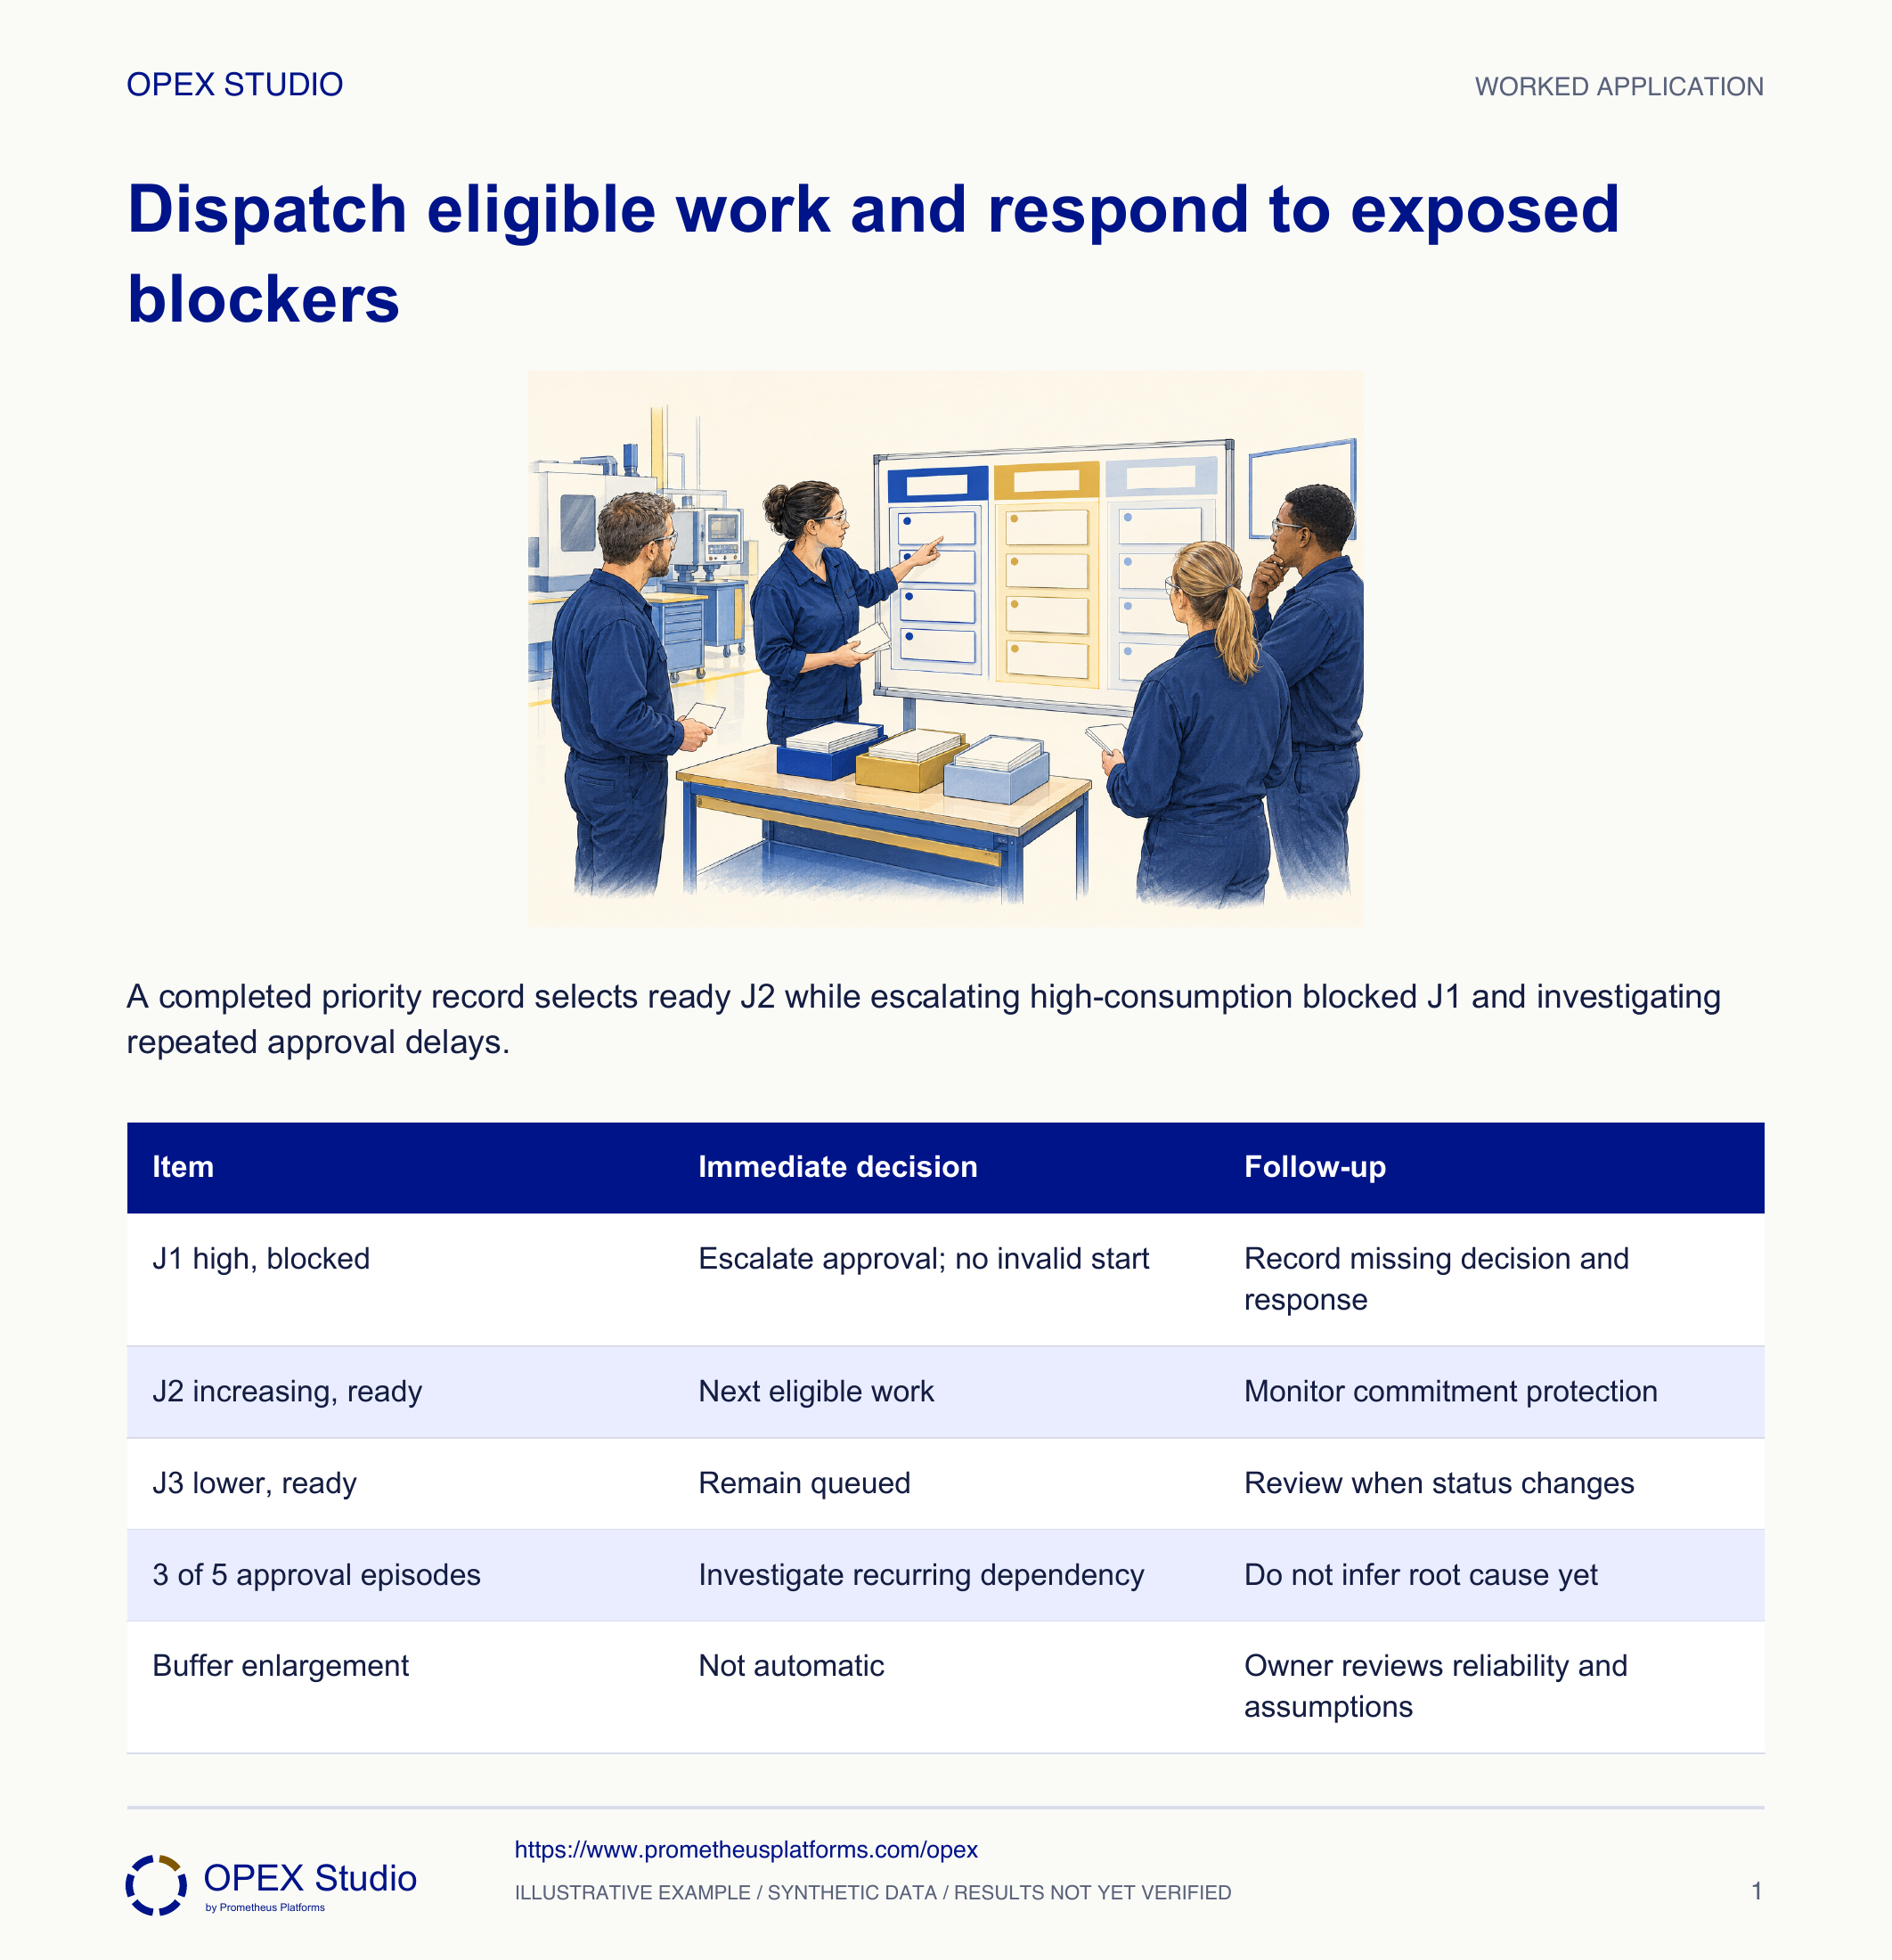
Fictional planning team: three jobs have locally defined protective-time statuses. J1 has high consumption but lacks a required drawing approval. J2 has increasing consumption and is ready; J3 has lower consumption and is ready. Coordinator Rhea must apply the local rule and investigate repeated approval delays.
Reassess priority using the agreed interruption policy, setup costs and current process state; do not assume a mid-task stop is harmless.
Protection status informs coordination but does not replace safe execution or the declared dispatch rules.
Use a declared buffer-priority policy to choose an eligible next action, expose blocked high-risk work and distinguish immediate recovery from recurring-cause improvement.
Fictional planning team: three jobs have locally defined protective-time statuses. J1 has high consumption but lacks a required drawing approval. J2 has increasing consumption and is ready; J3 has lower consumption and is ready. Coordinator Rhea must apply the local rule and investigate repeated approval delays.
Role: Planning coordinator with the work-center and approval owners.
Protection status informs priorities and response without bypassing readiness or quality requirements.
The team considers starting blocked J1 because its color is strongest, or enlarging every buffer to make the red statuses disappear.
| Job / rule | Supplied evidence |
|---|---|
| J1 | High consumption; required drawing approval missing |
| J2 | Increasing consumption; ready and eligible |
| J3 | Lower consumption; ready and eligible |
| Recurring log | Drawing approval appears in 3 of the last 5 high-consumption episodes |
| Priority policy | Highest eligible status first; blocked high status escalated |
| Zone thresholds | Local definitions; numerical thresholds not supplied |
Rhea checks the data source, commitment boundary and agreed status calculation before acting on the display. She does not substitute elapsed job age for buffer consumption.
Why: A status is useful only if its clock and policy are understood. Different applications may use different protective mechanisms and measurements.
Evidence: Local status basis confirmed; no numerical consumption percentage is invented.
J1 has the highest reported risk status but cannot legally enter the declared process without the required approval. Rhea records the missing decision and its owner.
Why: Priority does not grant technical or quality authority. A blocked urgent job requires a response, not a pretend start.
Evidence: J1 remains blocked with approval owner and next response time.
Under the supplied policy, the work center takes J2 before J3 while the owner escalates J1’s approval. Any later reprioritization follows the agreed safe interruption rule.
Why: The team can protect system progress while addressing the most exposed blocked job. A high-risk blockage need not imply idling all usable capacity.
Evidence: J2 selected; J1 escalated in parallel; J3 waits under normal policy.
Record the cause and recovery for J1, then examine the five-episode log. Three drawing-approval episodes justify investigating that dependency, not declaring its root cause proven.
Why: Firefighting the current job and improving the recurring system condition are different tasks. A count prioritizes inquiry, not causal certainty.
Evidence: Approval dependency selected for investigation, with examples and timestamps retained.
After representative evidence, the owner reviews reliability, release assumptions and buffer adequacy. Do not enlarge protection solely to remove a color from the screen.
Why: A parameter change can conceal delays while increasing lead time or inventory. It needs a system-outcome prediction and follow-up.
Evidence: Policy/parameter review names evidence, decision and subsequent delivery check.
| Item | Immediate decision | Follow-up |
|---|---|---|
| J1 high, blocked | Escalate approval; no invalid start | Record missing decision and response |
| J2 increasing, ready | Next eligible work | Monitor commitment protection |
| J3 lower, ready | Remain queued | Review when status changes |
| 3 of 5 approval episodes | Investigate recurring dependency | Do not infer root cause yet |
| Buffer enlargement | Not automatic | Owner reviews reliability and assumptions |
The approval arrives after J2 has started.
Reassess priority using the agreed interruption policy, setup costs and current process state; do not assume a mid-task stop is harmless.
Protection status informs coordination but does not replace safe execution or the declared dispatch rules.
The next dispatch decision records readiness change and the applicable interruption rule.
Separate fictional queue: K1 is high consumption but missing accepted material, K2 is high consumption and ready, K3 is increasing consumption and ready. The same highest-eligible policy applies. Recent recurring causes are missing material, missing material, drawing change and missing material.
| Job / log | Status |
|---|---|
| K1 | High; material not accepted |
| K2 | High; ready |
| K3 | Increasing; ready |
| Recent causes | Material, material, drawing, material |
K2 is the highest-status eligible job and should be selected under the stated policy. K1 requires material acceptance response; its status does not authorize use of unaccepted material.
Three of four listed episodes involve material, making that dependency a reasonable investigation focus. Determine why readiness failed.
No buffer-consumption percentages, universal red thresholds or optimal buffer sizes can be calculated from these inputs.
| Action | Evidence | Decision |
|---|---|---|
| Dispatch | K2 | High and eligible |
| Escalate | K1 | Material acceptance owner |
| Investigate | 3 of 4 material episodes | Dependency, not proven root cause |
| Calculate | No numeric buffer data | Do not invent thresholds |
Which clock and rule make the display meaningful?
How can the team help J1 while working J2?
What does three material episodes establish, and what not?
What outcome would justify a parameter change?
Write a dispatch decision and a separate improvement question before opening the answer.
Owner: Planning/system owner with readiness and execution counterparts
Record: Status/readiness history, dispatch exceptions and recurring-cause log
Review: During execution and at the agreed buffer-policy review
Evidence: Reliable commitments, timely blocked-work response and reduced recurring readiness failures
Review release, reliability and protection assumptions explicitly; do not hide the signal through unexamined parameter changes.
Buffer management and recurring red-zone instability; indexed conference text
Method reference; original OPEX scenario and diagram are synthetic teaching content, not source case results.Read the lessons online or use these PDFs to prepare, practise and review with your team. No sign-in needed.
Case objectives, demonstration plans, debriefs, common mistakes and application checks across all 81 workplace cases and method lessons.
Download Facilitator guide PDF · 166 pages · 65.1 MBPrintable case worksheets, blank observation records and five calculation exercises; answers are separate.
Download Learner workbook PDF · 169 pages · 10.7 MBReasoned sample responses, worked calculations and coaching guidance; fictional examples are clearly labelled.
Download Answer key and coaching notes PDF · 105 pages · 8.5 MBThe native method mechanisms and worked applications for all 68 detailed lessons, in a separate bookmarked portrait reference.
Download Method and application reference PDF · 141 pages · 10.2 MBFive illustrated system chapters: 15 Flare concept maps and 26 original workplace teaching cards, with links to all 81 supporting cases and method lessons.
Download Illustrated systems atlas PDF · 69 pages · 55.8 MBExplore this connected method and its separate application conditions.
Explore the connected method →Explore this connected method and its separate application conditions.
Explore the connected method →Explore this connected method and its separate application conditions.
Explore the connected method →